Search our knowledge base, guides, features, case studies... everything!


This article provides a walkthrough of a Four-Stage Clearance using the Flow Mobile Surveying app. Once completed, you'll be able to issue a Certificate for Reoccupation report to your client and licensed asbestos removal contractors.
Note: This walkthrough uses the 'Asbestos Certificate for Reoccupation v3' template.
Preview an example report using this template
Before going on-site, complete these steps using the Dashboard.
Complete this section including the scope of work, anticipated start date/time and contract details for the client, laboratory, and contractor.
These steps are completed using the Mobile App.
Each stage of the four-stage clearance should be marked as Passed/Failed and signed off by the analyst. There's also the option to mark stages as not applicable in cases where that is required.
Tip: Each stage lets you record photos for key parts of the process, but if you need to capture more photos, you can use the 'Additional Photos' section.
Take a suitable photo of the building for your cover page and give it an (optional) caption.

Tip: We recommend a relatively wide shot to make the site easily visible.
This section is used to record the handover from contractor and a preliminary check of the site condition.
On acceptance of the handover document, the form will expand so you can input the Plan of Work, Work Areas, and other preliminary checks.
Complete the required fields and include any relevant photographs. At sign off, you must also estimate the time for the Stage Two Visual Inspection.
The visual inspection is the crucial stage of the four-stage clearance. So sufficient time should be allocated for this stage.
You'll be prompted to enter information such as the airlock, baglock, enclosure, and so on.
If additional cleaning is required (e.g. the total cleaning time is estimated to be >10 minutes), then a stage 2 failure certificate should be issued.
If the estimated vs actual time for stage 2 is >20% then you must enter a short explanation of why.
This stage is split into several sections. You must work through each of these sections in turn.
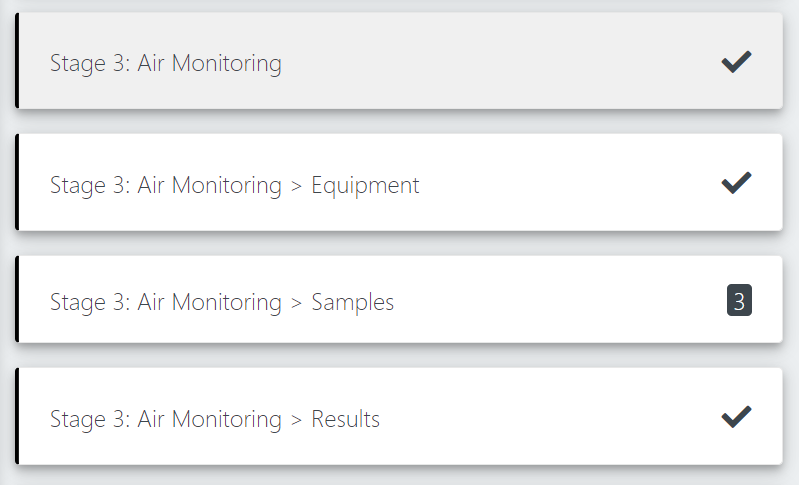
Information from the Equipment and Samples sections will be used in the calculations for the report.
When entering samples, you must include details such as the test type, flow rates, start and end time, and (assuming it was countable) the number of fibres and fields.
Finally, sign the stage off as passed or failed and include any comments about the results.
The is the final stage of the four stage-clearance. Complete the relevant parts of the form, mark whether the stage has passed or failed, then sign off the stage.
If you need to upload any more photos before issuing the report, you can add them via the Additional Photos section.
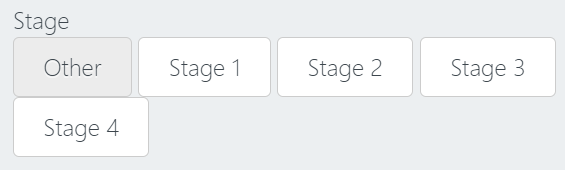
When adding photos, you can (optionally) choose a stage. In doing so, this will show the photos next to the relevant stage on the report.
If you need to upload any attachments before issuing the report, you can add them now via the Attachments section.
This is the final sign off for the report. You'll need to include acknowledgements from the contractor and assessor as well as the report issue method.
This section will show whether you've deemed the area fit for reoccupation.
To issue the report to your client, Download the report or Share the Report URL.